OpenClaw Installation to First Conversation — Complete Tutorial
Step-by-step guide to installing OpenClaw, connecting Telegram, and having your first AI conversation. From Node.js setup to workspace configuration.
Series: Mastering OpenClaw (2/3)
- Introduction
- Tutorial ← You are here
- Advanced Usage
In the previous post, we explored what OpenClaw is. This time, we’ll go through installing it and having your first conversation — all in one go. Open your terminal and follow along! 🚀
1. Prerequisites
OpenClaw runs on the Node.js runtime.
| Item | Requirement |
|---|---|
| Node.js | v22 or above (check with node -v) |
| OS | Windows, macOS, and Linux all supported |
- macOS / Linux — You can start right away without any additional setup.
- Windows — Works natively. WSL2 is also supported but not required.
If you don’t have Node.js, download the LTS version (22+) from the official site, or use a version manager:
# Volta (recommended — per-project version management)
curl https://get.volta.sh | bash
volta install node@22

# nvm
nvm install 22
nvm use 22

# fnm
fnm install 22
fnm use 22
Optional (But Recommended!)
- Brave Search API Key — Required for web search features. Get one free at Brave Search API
- AI Model API Key — At least one of Anthropic, OpenAI, or Google. Set via
ANTHROPIC_API_KEYorOPENAI_API_KEYenvironment variables - Git — Required for source builds
2. Installation — 3 Methods
Choose whichever method suits you best.
Method 1: npm Global Install (Most Recommended) ⭐
npm install -g openclaw@latest
# or
pnpm add -g openclaw@latest
Verify the installation:
openclaw --versionMethod 2: One-Click Script (Quick & Easy)
# macOS / Linux
curl -fsSL https://openclaw.ai/install.sh | bash
# Windows (PowerShell)
iwr -useb https://openclaw.ai/install.ps1 | iexThe script handles everything from dependency checks to PATH registration.
Method 3: Source Build (For Contributors)
git clone https://github.com/openclaw/openclaw.git
cd openclaw
pnpm install
pnpm ui:build    # Automatically installs UI dependencies on first run
pnpm build
openclaw onboard --install-daemon
Tip: Source builds are recommended if you’re thinking about contributing or want to try the latest features early. Switching between npm and source builds is easy —
openclaw doctorautomatically updates the Gateway service entrypoint.
3. Onboarding Wizard — Core Setup in One Go
After installation, the onboarding wizard guides you through core settings on first run.
openclaw onboard --install-daemonFollow the interactive prompts to configure these items:
| Setting | Description |
|---|---|
| Gateway | Always-on daemon where the AI agent resides |
| Authentication | AI model API keys (Anthropic, OpenAI, etc.) |
| Channels | Messaging platforms like Telegram, Discord |
| Workspace | File workspace path for the agent |
| Gateway Token | Generated by default by the wizard (even for loopback) |
Adding the --install-daemon flag registers the Gateway as an OS service:
- macOS: launchd
- Linux: systemd user service
- Windows: Windows Service
It auto-starts after reboots, so no need to worry.
Manual Setup Without the Wizard
You can also directly edit ~/.openclaw/openclaw.json instead of using the wizard:
{
  // AI model settings
  "agents": {
    "defaults": {
      "workspace": "~/.openclaw/workspace",
      "models": {
        "default": "anthropic/claude-sonnet-4-20250514"
      }
    }
  },

  // Channel settings
  "channels": {
    "telegram": {
      "botToken": "<BotFather token>",
      "dmPolicy": "pairing"
    }
  },

  // Automation settings
  "cron": { "enabled": true },
  "hooks": {
    "enabled": true,
    "token": "<webhook_secret>"
  }
}
4. Telegram Bot Integration — The Easiest Channel
Among all available channels, Telegram has the lowest barrier to entry. Let’s start there.
4-1. Create a Bot
- Send the
/newbotcommand to @BotFather on Telegram. - Choose a bot name and username — you’ll receive an API token.
- Copy and save this token.
4-2. Register the Token in Config
Skip this if you already registered it during the onboarding wizard. Manual setup:
{
  "channels": {
    "telegram": {
      "botToken": "7123456789:AAHx...",
      "dmPolicy": "pairing"
    }
  }
}
dmPolicy Options Explained:
| Policy | Behavior |
|---|---|
pairing | Requires pairing approval (strongly recommended for security ⭐) |
open | Anyone can DM (for testing) |
deny | Block all DMs |
4-3. Pairing Approval
When you first DM the bot, a pairing request is generated. Approve it from the terminal:
# Check pending pairing requests
openclaw pairing list

# Approve pairing
openclaw pairing approve <requestID>
You can also approve visually from the dashboard at http://127.0.0.1:18789/.
4-4. Using in Telegram Groups
Invite the bot to a group and it works in mention-based mode:
{
  "channels": {
    "telegram": {
      "botToken": "7123456789:AAHx...",
      "groups": {
        "*": { "requireMention": true }
      }
    }
  }
}
@botname What's wrong with this code?→ AI responds- Regular conversation → AI observes silently
4-5. Advanced Telegram Settings
{
  "channels": {
    "telegram": {
      "botToken": "7123456789:AAHx...",
      "dmPolicy": "pairing",
      "streaming": {
        "enabled": true,          // Real-time response streaming
        "draftMode": true         // Show typing indicator
      },
      "reactions": {
        "mode": "minimal"         // Minimize emoji reactions
      },
      "topics": true              // Forum topic support
    }
  }
}
5. Running and Verifying the Gateway
If you installed the daemon during onboarding, it may already be running.
Service Management
# Check status
openclaw gateway status

# Start/Stop/Restart
openclaw gateway start
openclaw gateway stop
openclaw gateway restart
Manual Execution (For Debugging)
openclaw gateway --port 18789 --verboseThe --verbose flag outputs request/response logs in real time.
Remote Access (Tailscale)
To access the Gateway from outside your home:
openclaw gateway --bind tailnet --token <token>A token is required for non-local bindings.
Status Checks
# Full status
openclaw status

# Environment diagnostics
openclaw doctor

# Health check
openclaw health
Visit http://127.0.0.1:18789/ in your browser to visually check the running state, channel connections, recent conversations, and more through the dashboard.
6. First Conversation Test 🎉
Everything is ready. Let’s have an actual conversation.
Chat Directly on Telegram
Send any message to the bot from your paired account. If the AI agent responds, you’re all set! 🎊
Test via CLI
# Send a message to a specific Telegram chat
openclaw message send --target telegram:<chatID> --message "Hello, OpenClaw!"

# You can also test from the dashboard
# Use WebChat at http://127.0.0.1:18789/
Slash Commands
Built-in commands you can use directly in Telegram chats:
| Command | Description |
|---|---|
/status | Check Gateway status |
/model <model> | Change AI model |
/thinking <level> | Adjust thinking level (off/low/medium/high) |
/stop | Stop the currently running task |
/subagents list | List sub-agents |
/activation always|mention | Change response mode in groups |
7. Workspace Setup — Building Your Agent’s Brain
Now that it’s working, let’s customize it into an agent tailored to you.
Workspace File Structure
~/.openclaw/workspace/
├── AGENTS.md        # Agent behavior rules and workflows
├── SOUL.md          # Persona, personality, and tone definitions
├── USER.md          # Information about the user (you)
├── MEMORY.md        # Long-term memory — persists across sessions
├── HEARTBEAT.md     # Items to auto-check on heartbeat
├── TOOLS.md         # Local notes for tools (camera names, SSH info, etc.)
├── memory/          # Daily memory logs
│   ├── 2025-07-12.md
│   └── 2025-07-13.md
└── skills/          # Custom skills folder
    └── my-skill/
        └── SKILL.md
SOUL.md — Defining the Agent’s Personality
Define the agent’s character in this file:
# SOUL.md

## Personality
- Friendly but professional tone
- Communicate in English (keep technical terms as-is)
- Use emojis moderately 😊
- Good sense of humor, but avoid TMI

## Name
I am "Claudie" — A personal AI assistant powered by OpenClaw

## Principles
- Only provide accurate information; be honest when unsure
- Always provide code in complete, runnable form
- Strictly protect personal information
USER.md — User Information
# USER.md

## Basic Info
- Name: John Smith
- Occupation: Software Engineer
- Interests: AI, automation, developer productivity
- Timezone: America/New_York (UTC-5)

## Preferences
- Keep responses concise
- Prefer TypeScript for code
- Use Google Calendar for scheduling
HEARTBEAT.md — Automated Checklist
Define items for the agent to automatically check periodically:
# HEARTBEAT.md

## Regular Checks (every heartbeat)
- [ ] Notify about any urgent unread emails
- [ ] Remind about calendar events within 2 hours
- [ ] Alert if rain is forecast — bring an umbrella
- [ ] Summarize new Issues/PRs in GitHub repos

## Nighttime (23:00-08:00)
- Only notify for urgent items; otherwise HEARTBEAT_OK
Changing Models
# Change default model via CLI
openclaw config set agents.defaults.models.default "anthropic/claude-opus-4-20250514"

# Or use slash commands in Telegram
/model opus
/model sonnet
/model gpt-4o
8. Installing Skills
Install community skills from ClawHub:
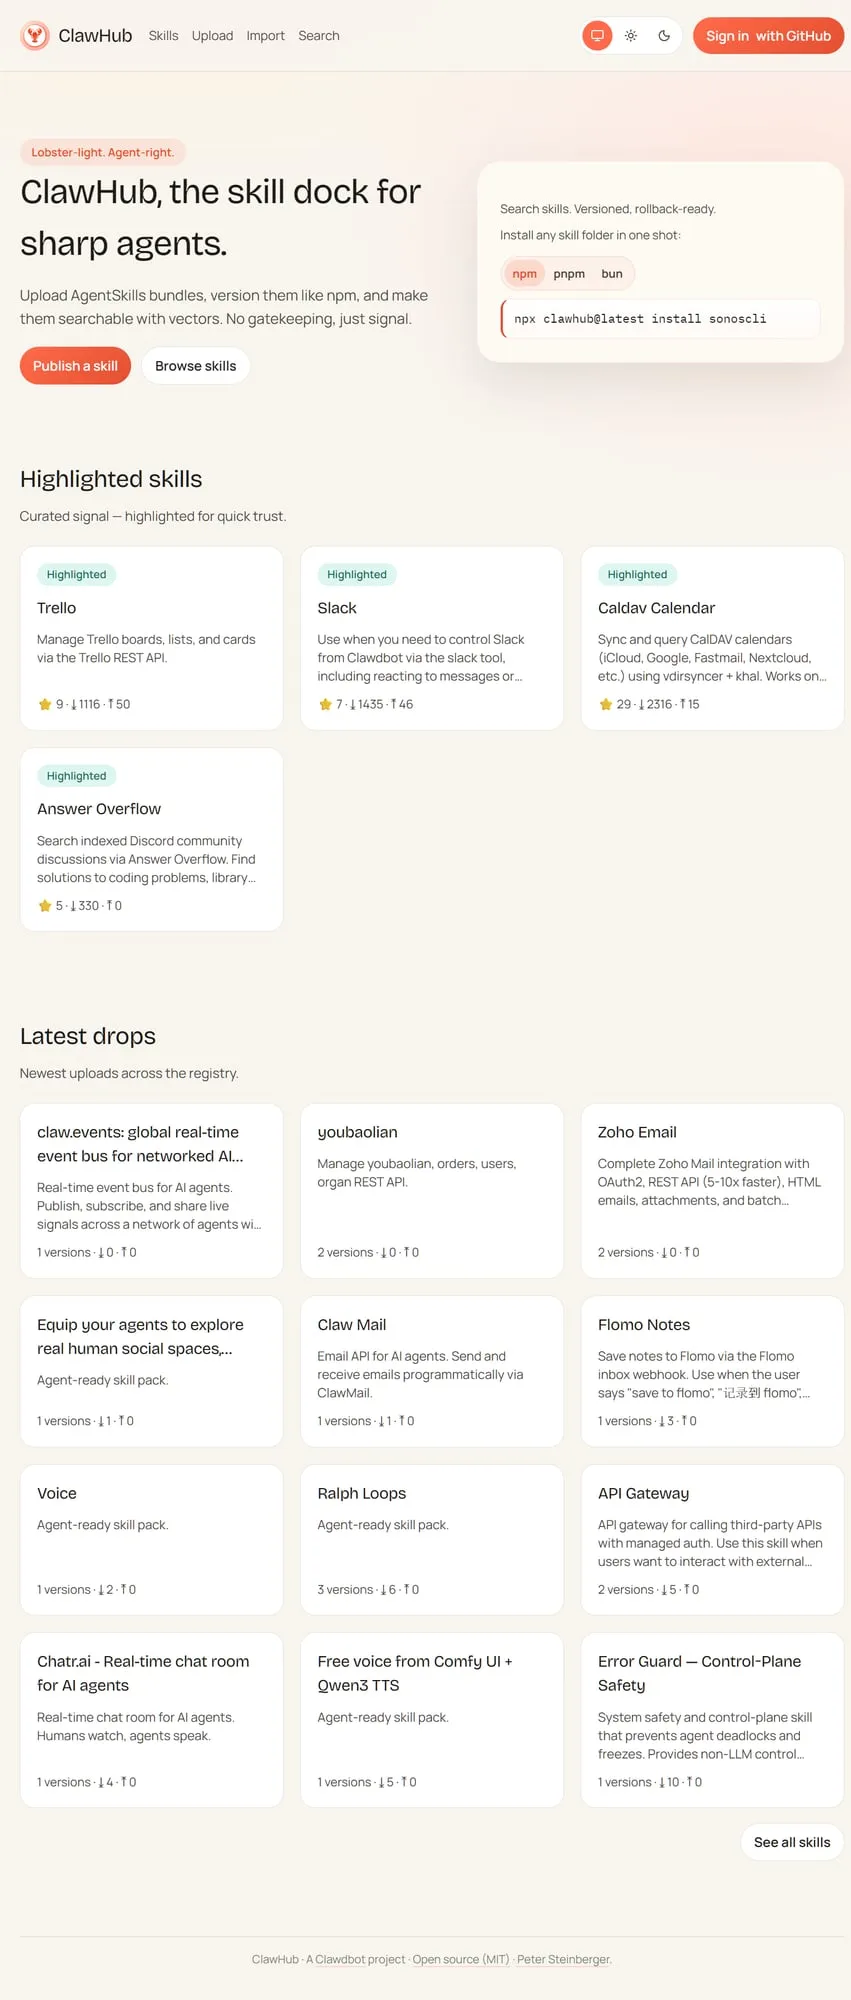
# Install CalDAV calendar integration skill
npx clawhub@latest install caldav-calendar

# Trello board management skill
npx clawhub@latest install trello

# Check installed skills
ls ~/.openclaw/workspace/skills/
Installed skills are automatically recognized. They hot-reload without restarting the Gateway.
9. Troubleshooting — Problem-Solving Guide
Automatic Diagnostics
# Auto-diagnose the entire environment
openclaw doctor

# Output detailed status of all components
openclaw status --all
openclaw doctor inspects Node.js version, config file validity, channel connections, API key status, and more — all at once.
Common Problems and Solutions
| Symptom | Cause | Solution |
|---|---|---|
| Gateway won’t start | Port conflict | netstat -ano | findstr 18789 (Windows) / lsof -i :18789 (macOS/Linux) |
| Telegram bot not responding | Token error or incomplete pairing | Check with openclaw doctor, verify approval status with openclaw pairing list |
| API key error | Key expired or insufficient balance | Check key status with openclaw doctor, verify on model provider dashboard |
| ”Node version” error | Node.js below v22 | Check with node -v and upgrade |
| Skill not recognized | Hot-reload delay | Wait briefly after saving SKILL.md, or restart Gateway |
Checking Logs
# Monitor Gateway logs in real time (macOS/Linux)
tail -f ~/.openclaw/logs/gateway.log

# Windows PowerShell
Get-Content ~/.openclaw/logs/gateway.log -Wait -Tail 50
10. Next Steps — Going Deeper
Installation and your first conversation are complete! 🎉
Now that the basics are set up, it’s time for the really fun stuff:
Things to Try Right Away
- Edit SOUL.md — Give your agent a unique personality
- Create HEARTBEAT.md — Set up an automated checklist
- Browse skills on ClawHub — clawhub.com
- Register a cron job — Daily morning briefing
What’s Coming in Part 3
Part 3 (Advanced Usage) covers advanced real-world use cases for leveraging OpenClaw as a powerful automation tool:
- Webhook workflows with n8n/Make integration
- MCP server integration
- Automated daily reports with cron (including config JSON)
- Building multi-agent systems
- Browser automation for data collection
- Security camera monitoring with the Node system
- Complete guide to custom skill development
🦞 Play around with your installed OpenClaw while you wait. We’ll be back soon! 🐾
Questions or feedback are welcome on GitHub Issues or Discord.
Was this helpful?
Your support helps me create better content. Buy me a coffee! ☕
Related Articles
-
jangwook.net 45-Day Growth Report: 7 Insights from 750 Visitors
Covers similar topics in automation with comparable difficulty.

-
DeNA LLM Study Part 1: LLM Fundamentals and 2025 AI Landscape
Covers similar topics in automation with comparable difficulty.

-
DeNA LLM Study Part 4: RAG Architecture and Latest Trends
Covers similar topics in automation with comparable difficulty.